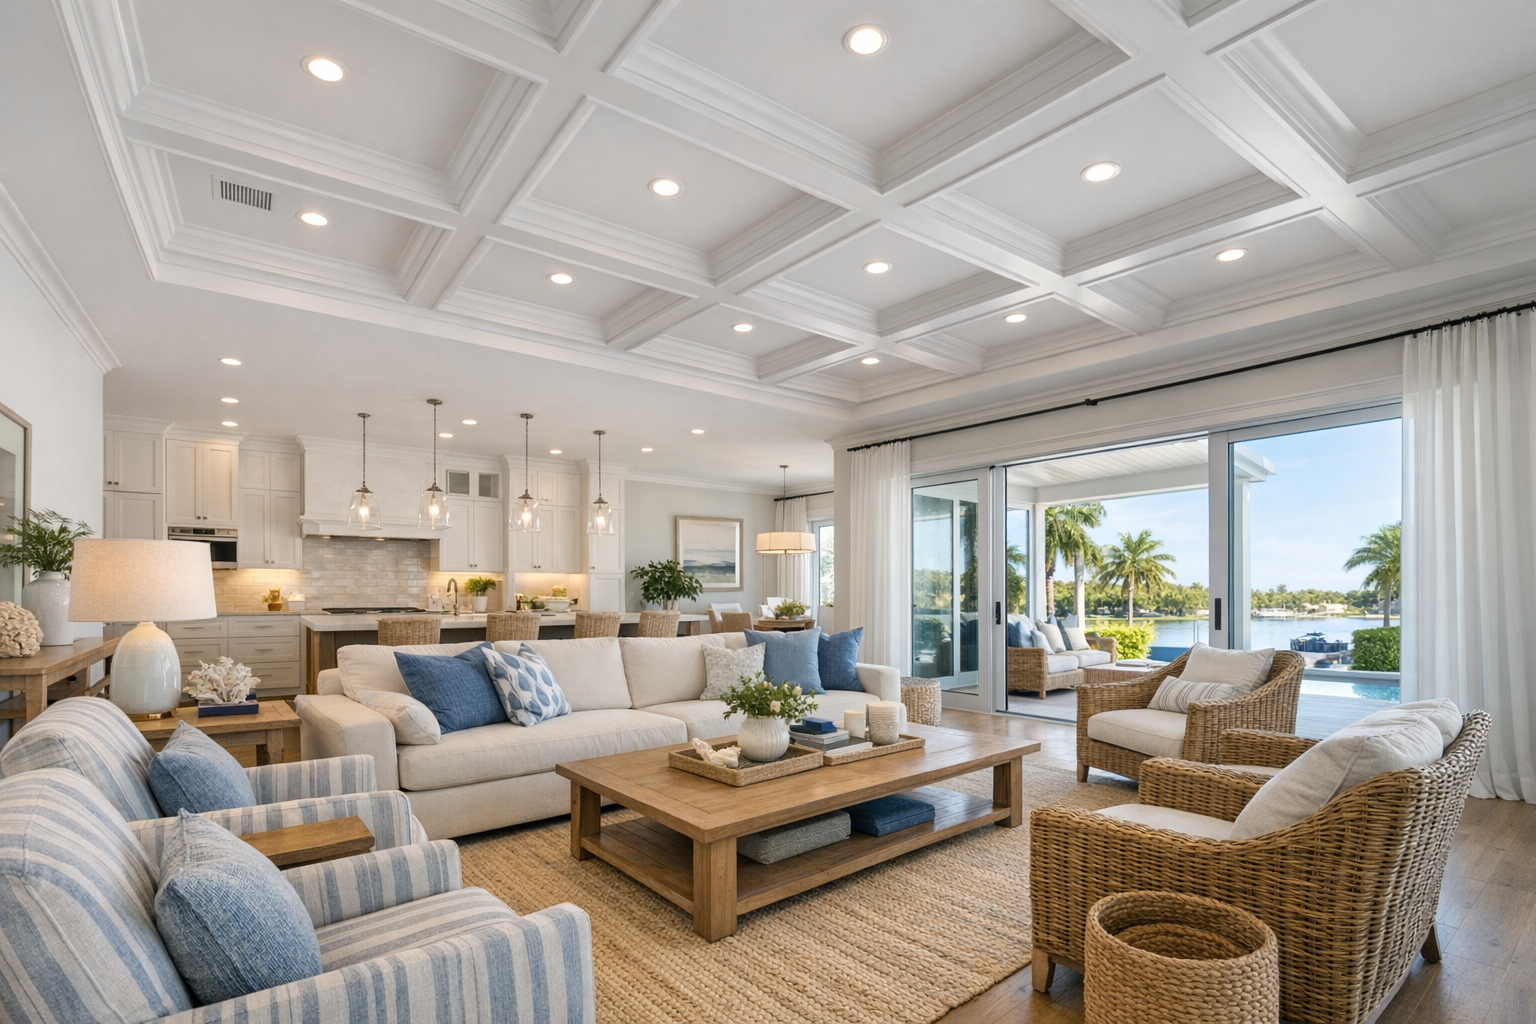

Before you fall in love with a ceiling photo, look at the room's actual height, width, and most visible centerline. If those lines fight the room, the design can look busy even when the trim itself is well made. A coffered ceiling creates a patterned grid of recessed panels; decorative ceiling beams add strong linear definition; tray trim emphasizes an existing stepped ceiling; custom ceiling moulding can frame, soften, or highlight specific areas without building a full beam system.
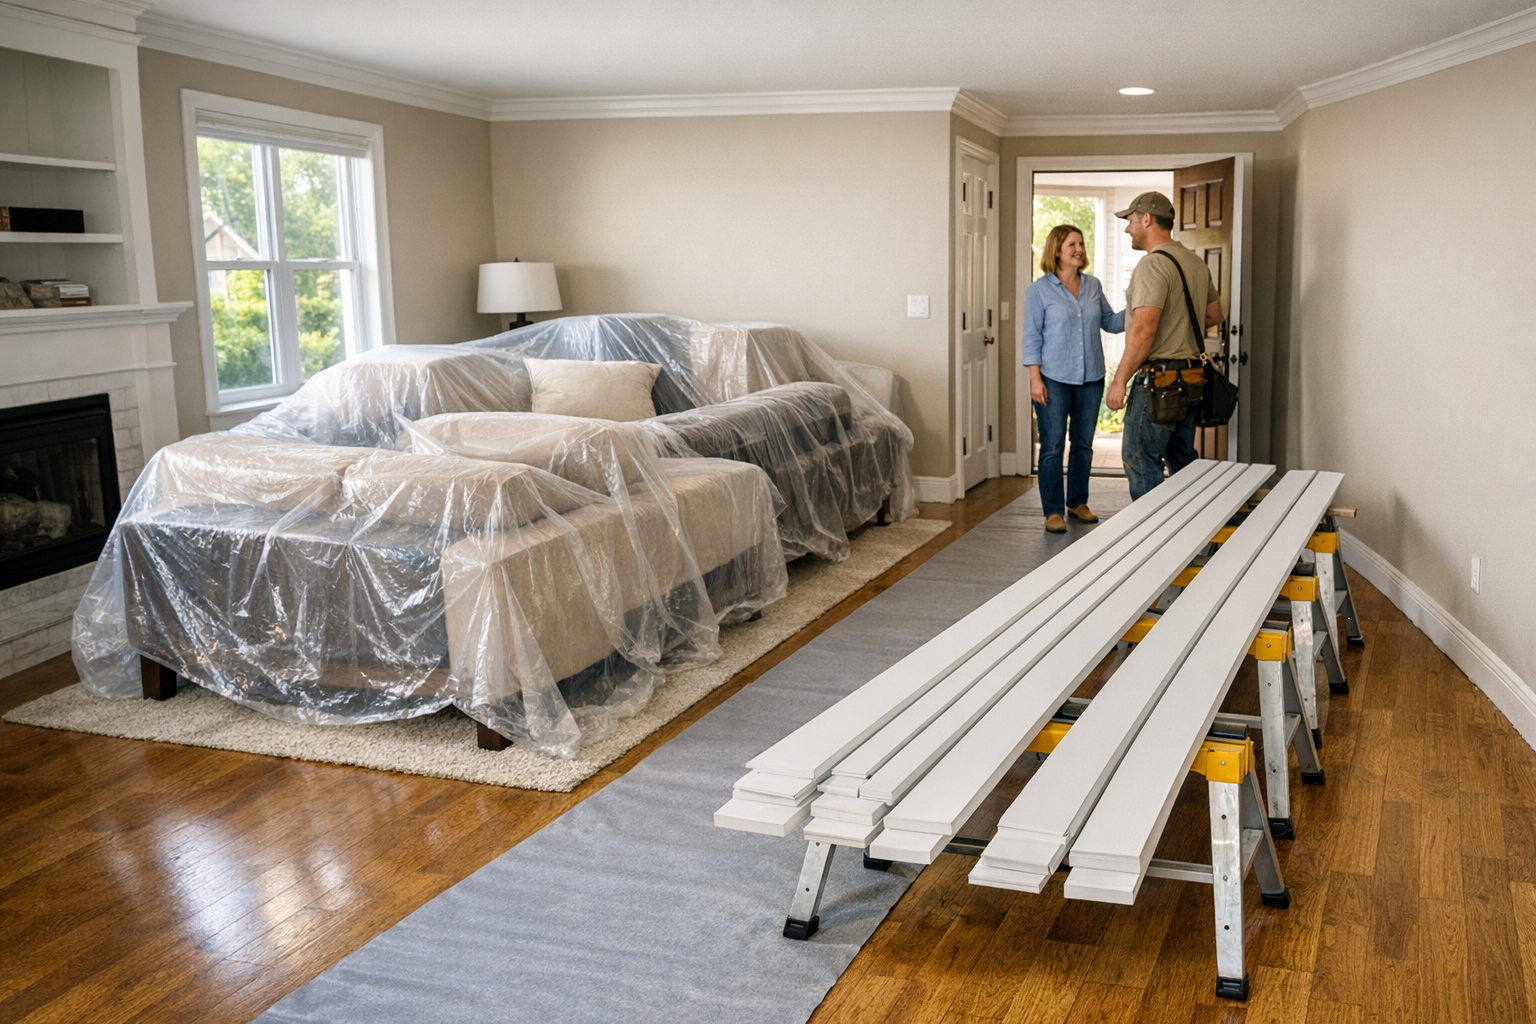
This guide is a pre-installation planning checklist, not a step-by-step DIY manual. For homeowners considering coffered ceiling installation in Sarasota, the goal is to decide whether the room is a strong candidate before materials, labor, and layout choices are locked in. The same planning mindset applies when comparing decorative ceiling trim in Venice, FL, with other ceiling trim ideas for Florida homes.
The right ceiling treatment depends on ceiling height, room proportions, lighting, ceiling fans, openings, sightlines, and finish choices. A taller great room may handle deeper beams, while a lower room may look better with shallow tray trim or lighter moulding. In bright Florida interiors, paint sheen, shadow lines, and trim depth are more noticeable, so the best plan considers scale, layout, and finish together before the room is changed overhead.
Start With Ceiling Height, Room Size, and Proportions
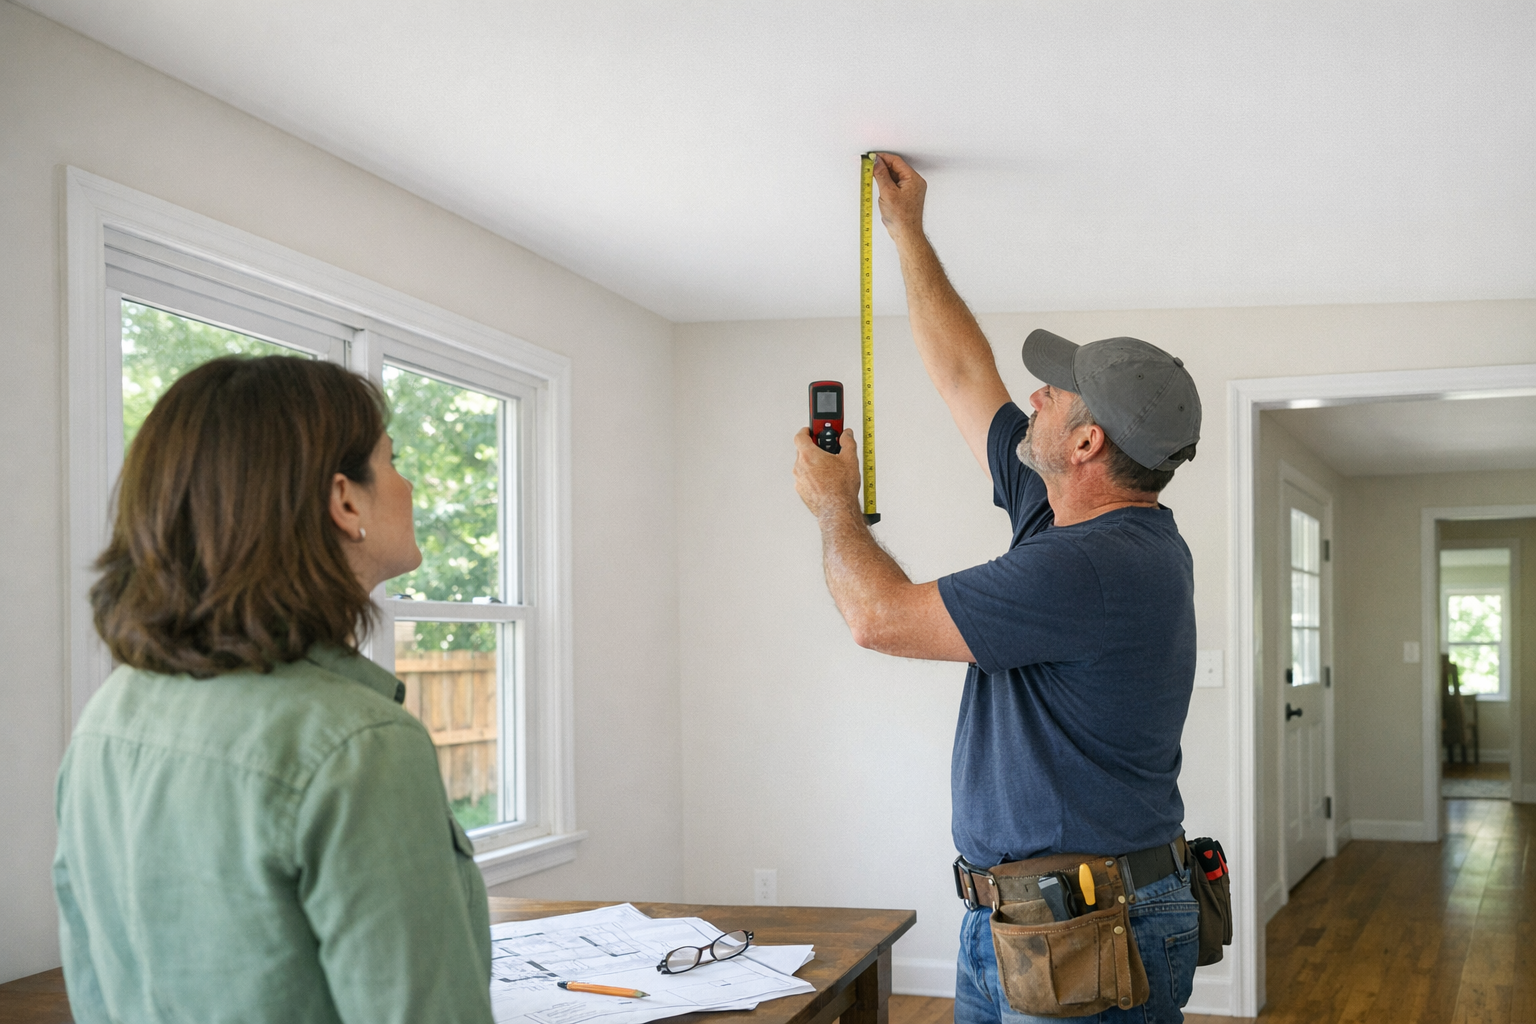
The first measurement that should shape the design is finished ceiling height, not the photo you saved for inspiration. Deep beams and full coffered grids add visual weight overhead, so they usually feel most natural in taller, wider rooms. In a typical 8-foot room, that same depth can make the ceiling feel lower, especially if the beams are dark, chunky, or closely spaced.
Room proportions matter just as much as height. A long, narrow dining room may look awkward with a square coffer pattern that leaves skinny panels at the ends, while a broad great room can often support larger panels and stronger beam lines. Good coffered ceiling planning starts with the actual room length and width, then works backward toward panel spacing that looks intentional from the main entry points.
- Strong candidate: a taller or more spacious room where deeper beams, a coffered grid, or bolder custom ceiling moulding can sit overhead without crowding the room. The takeaway is that depth can be used as a design feature when the room has enough vertical and horizontal breathing room.
- Questionable candidate: an 8-foot ceiling or modest room where a full grid may be too heavy, but shallow trim, a light panel layout, or a simple tray detail can still add architecture. Here, the goal is definition without making the ceiling feel compressed.
- Poor candidate for deep coffers: a low room with soffits, short wall spans, or existing ceiling interruptions that would force narrow, uneven panels. A cleaner ceiling treatment may look more custom than trying to squeeze in a dramatic grid.
Before discussing profiles or finish colors, measure the ceiling height, room length, room width, and any existing tray or soffit dimensions. Those numbers tell you whether the room can handle depth, whether the layout has room for balanced spacing, and whether a lighter decorative ceiling trim plan will serve the space better than a full coffered ceiling installation Sarasota homeowners may have seen in larger model homes.
Decide Which Ceiling Detail Actually Fits the Room
Those measurements help narrow the choice from "beautiful ceiling idea" to "detail that belongs in this room." A full coffered ceiling creates the strongest architectural statement because the grid, beam depth, and recessed panels all change how the ceiling reads. It is usually strongest in a dining room, foyer, or larger great room where the ceiling can become a focal point without overpowering the furniture, openings, or wall heights.
- Coffered ceilings: Best when the room has enough scale for a repeated grid and enough height for the beams to feel intentional. A good signal is a room where the panels can be evenly sized and still feel generous; a weak signal is a low or chopped-up ceiling where the grid would create small, busy boxes. This is where coffered ceiling design planning should be selective, not automatic.
- Tray ceiling trim: Best when the room already has a raised or stepped center area. The trim emphasizes that shape without adding the visual weight of a full grid, so it can work well in a primary bedroom or dining room that needs definition but not a heavy overhead pattern.
- Decorative beams: Best when you want directional lines across a room, such as defining a long great room or reinforcing a coastal, casual, or rustic feel. They become awkward when their spacing fights the room's openings, built-ins, or main sightlines.
- Panel moulding: Best for lighter ceiling definition when deep beams would feel too strong. It can frame sections of the ceiling with less depth, which makes it a useful middle ground for modest rooms that still need a finished ceiling detail.
- Custom ceiling moulding: Best when the design needs to respond to a specific room feature, such as a tray, chandelier location, ceiling transition, or open-plan boundary. The practical tradeoff is that the profile, finish, lighting, and room layout need to be planned together so the detail looks built in rather than added on.
A useful checkpoint is to match the ceiling detail to the room's role. A formal dining room may justify a bolder ceiling because people experience it as a contained space, while a relaxed bedroom may look better with softer tray trim or shallow moulding. If the ceiling treatment would be the first thing people notice for the wrong reason, it is probably too heavy, too busy, or not aligned with the architecture of the home.
Plan the Layout Around Centerlines, Openings, and Sightlines
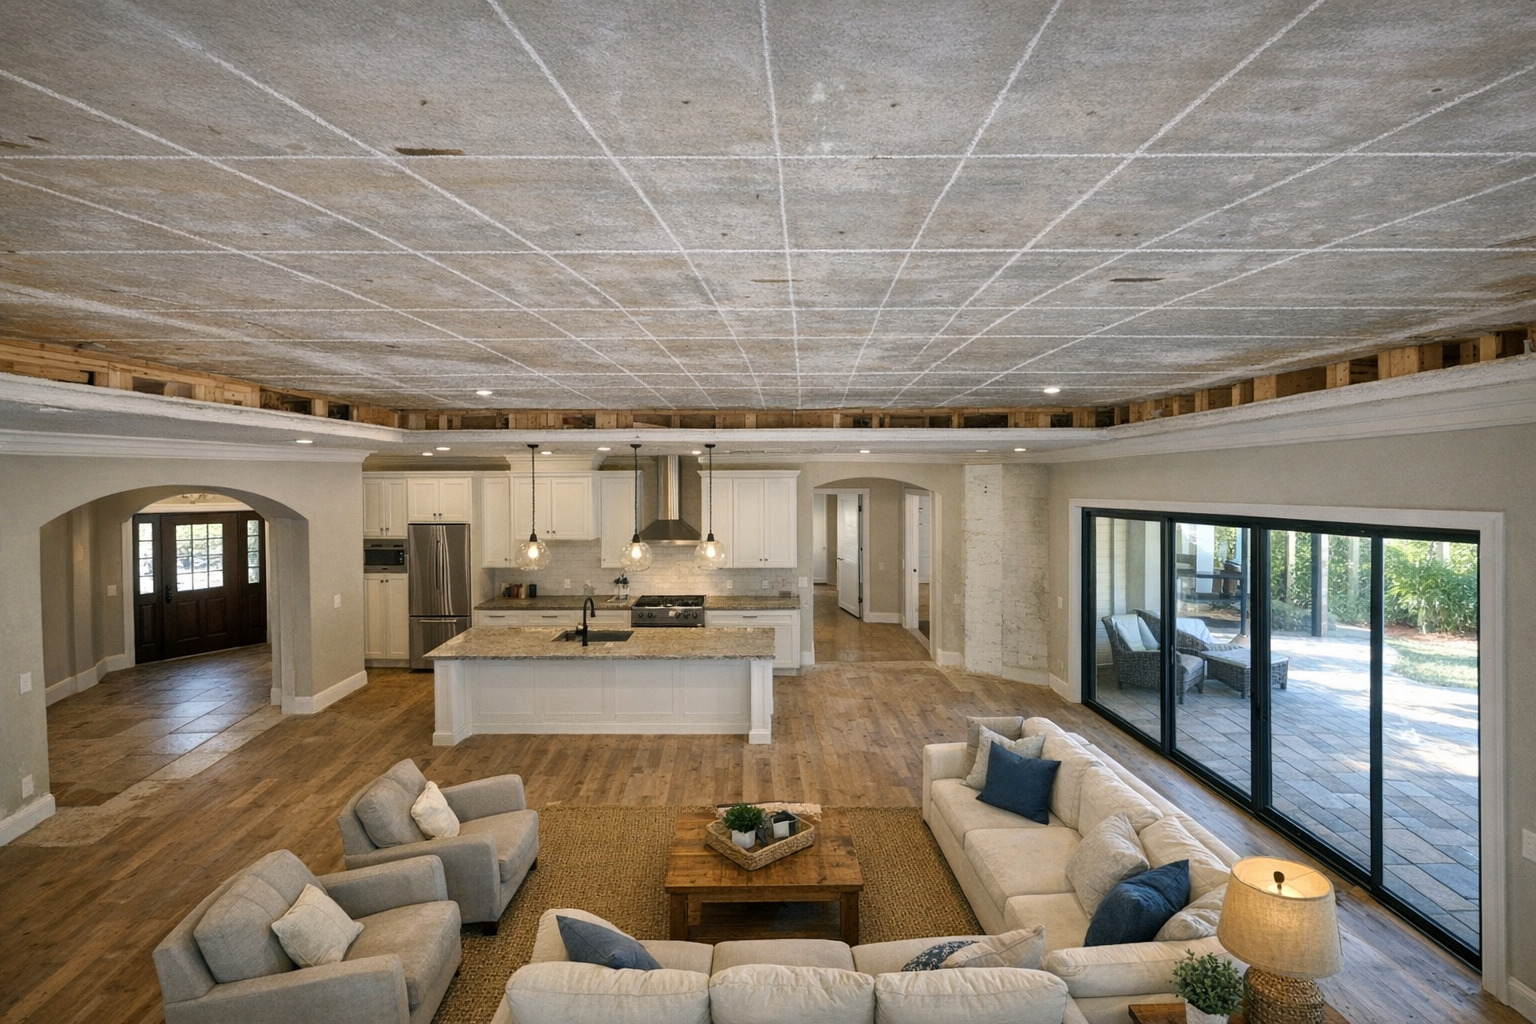
The layout is where a good ceiling idea either settles into the room or starts fighting it. Before materials are ordered, sketch the room from above with the actual length and width, then mark doors, windows, sliders, built-ins, the main furniture zone, and the primary views from nearby spaces. In an open Florida great room, for example, the ceiling may be seen first from the kitchen island or foyer, not from the exact center of the seating area.
Centerlines are the visual reference lines that run through the middle of the room or through an important feature, such as a fireplace, dining table, island, chandelier, or fan. A coffered ceiling layout often feels strongest when the ceiling grid respects those lines, because the eye reads the pattern as intentional. Beam spacing works the same way: evenly spaced beams can look clean in a simple rectangle, while adjusted spacing may look better when the room has a wide opening, a slider wall, or a built-in that would make "perfectly equal" boxes appear off balance.
- Strong layout decision: The grid or beams align with the room's main centerline, major openings, and the view from adjacent rooms, even if that means using fewer, larger panels or slightly shifting the pattern.
- Questionable layout decision: The ceiling grid is mathematically equal on paper, but a beam lands awkwardly near a window casing, slider, built-in, or transition into an open floor plan.
- Poor layout decision: The design forces identical boxes into an irregular room, leaving narrow slivers at the edges or making an off-center fixture look like a mistake.
For coffered ceiling installation Sarasota homeowners are considering in open-plan homes, the takeaway is simple: judge the layout from where people actually enter, sit, and look across the room. Symmetry matters, but sightlines matter more when the ceiling connects multiple spaces.
Coordinate Lighting, Ceiling Fans, Vents, and Other Obstacles Early
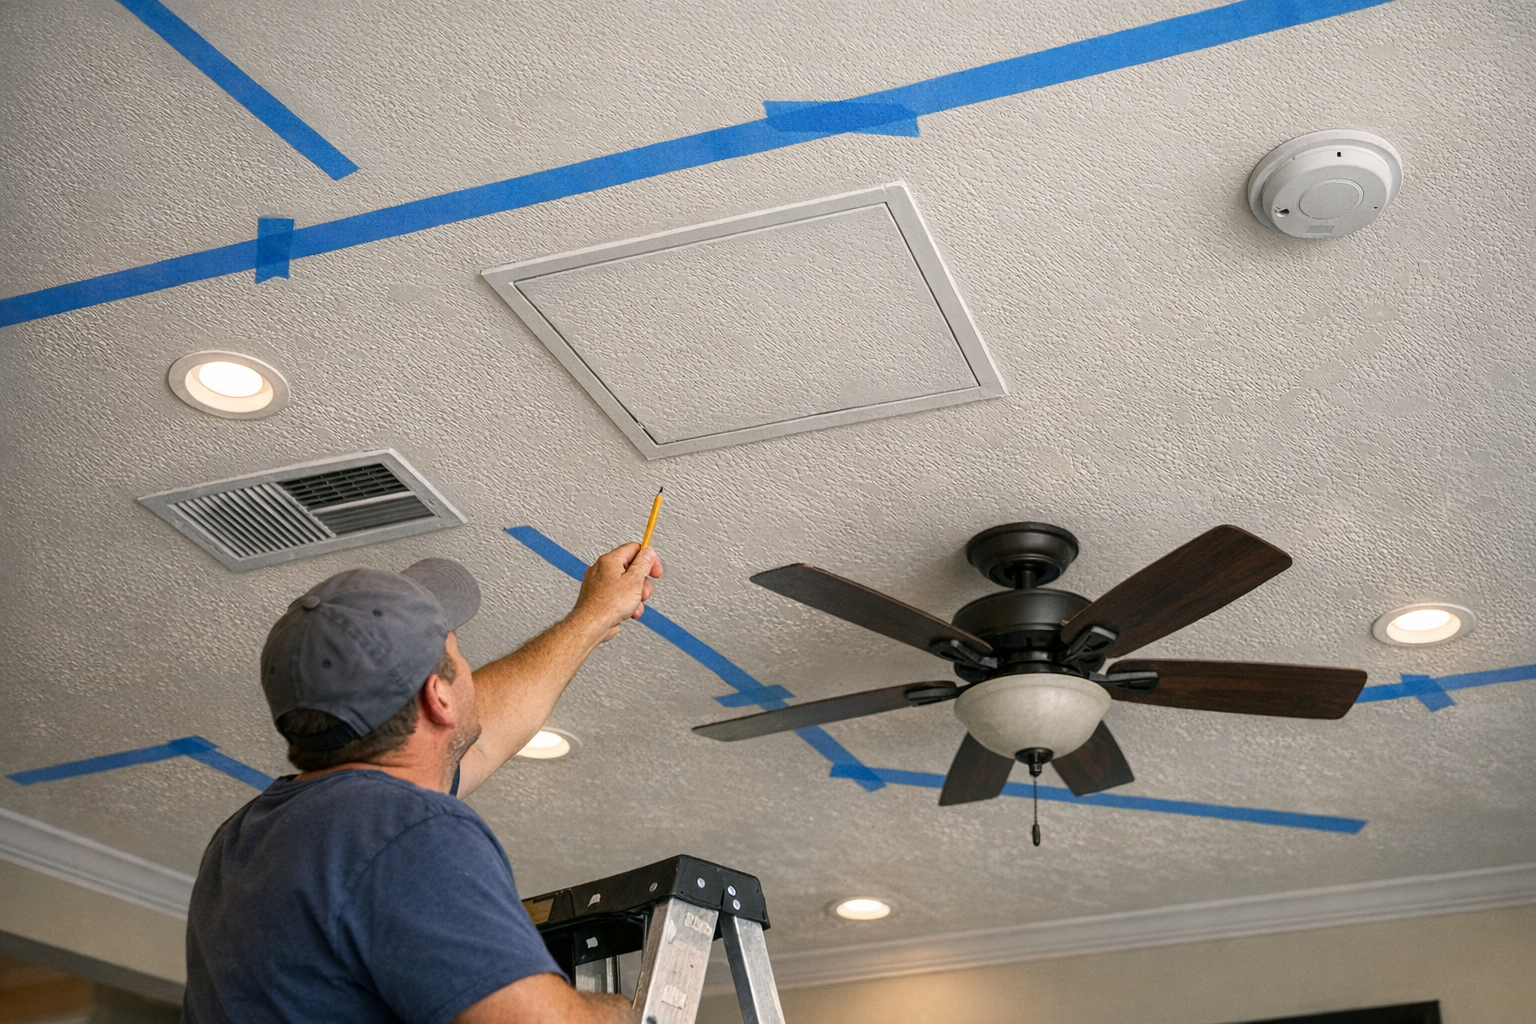
The same ceiling sketch should also show every item already living overhead: recessed lighting, chandelier placement, ceiling fans, HVAC vents, speakers, sprinklers, smoke detectors, soffits, attic access, and access panels. These are not small afterthoughts. They decide whether a beam lands cleanly, whether a panel feels centered, and whether the finished ceiling looks designed instead of patched around existing fixtures.
For lighting, choose the relationship between the fixture and the trim before the grid is finalized. Recessed lighting can sit centered inside individual panels, run in straight rows between beams, or shift toward a wall to highlight artwork or cabinetry. A chandelier usually needs a stronger center point, especially over a dining table, foyer, or island. The weak plan is to draw a beautiful grid first and then discover that a can light clips the edge of a beam or that the chandelier box is several inches off from the panel center.
Fans deserve the same early attention in Florida rooms where air movement is part of daily comfort. Ceiling fan clearance is not just the distance from the floor; it also includes the blade sweep around nearby beams, tray edges, and recessed panels. A good plan either centers the fan within a larger panel, designs the beams around the fan location, or decides early that the fan box should move before trim work begins. In bright coastal interiors, deeper beams can also cast sharper shadows, so fan placement and lighting should be judged together rather than separately.
- Strong candidate: Fixtures, vents, speakers, detectors, and fan locations can align with the ceiling layout, or there is enough room to relocate them cleanly before trim starts.
- Questionable candidate: A few items interrupt the pattern, but the design can adapt with larger panels, shallower trim, or adjusted beam spacing.
- Poor candidate: Multiple vents, lights, detectors, soffits, or access panels fall exactly where the design needs clean, uninterrupted beam lines.
Ask for a simple reflected ceiling plan, even if it is just a scaled sketch from above. It should show the trim layout, light locations, fan position, vent locations, attic access, and any access points before materials are ordered. If electrical boxes, HVAC vents, speakers, sprinklers, or access panels need to move, treat that as part of the project scope rather than a last-minute trim adjustment.
Choose Materials, Paint, and Finish Details for Florida Conditions
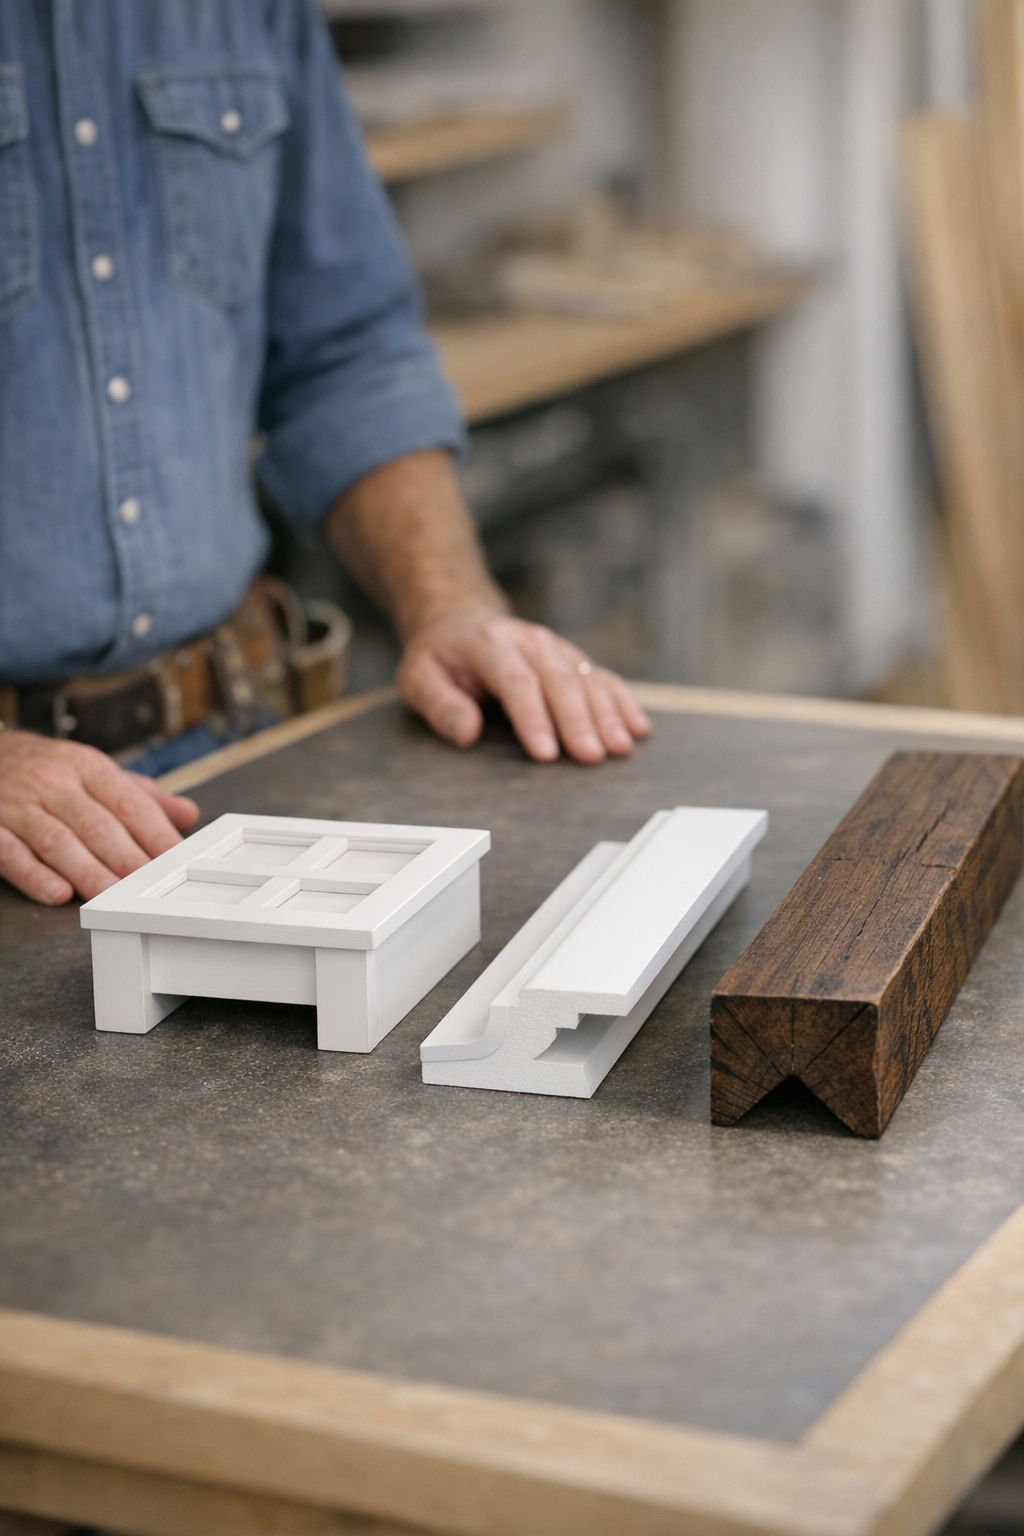
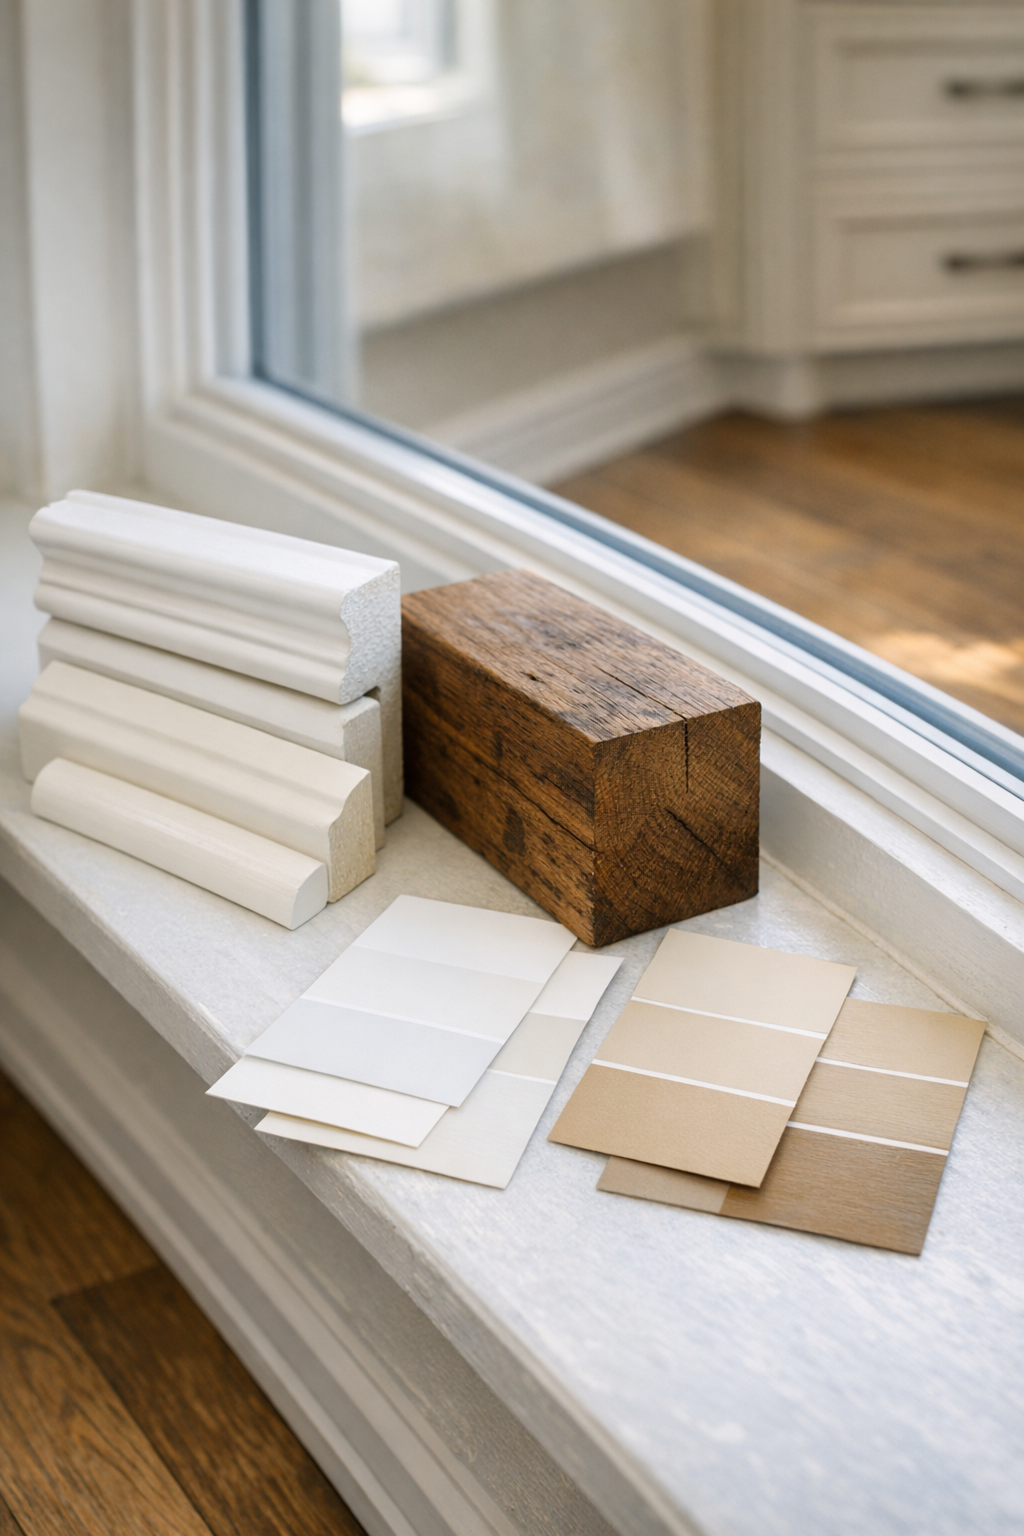
Put a small material sample, trim profile, and paint finish sample under the room's real daylight before you approve the final look. Painted trim usually makes a coffered ceiling, tray detail, or custom ceiling moulding feel cleaner and more integrated with the room. Stained decorative beams create more contrast and warmth, but they also need to sit comfortably with nearby wood tones, cabinetry, flooring, and furniture.

Profile shape matters just as much as color. A smoother, simpler profile gives soft definition and is often better when the ceiling should blend quietly into a bright Florida room. A shadow-heavy profile, with deeper steps and sharper edges, creates stronger lines and makes the ceiling more of an architectural focal point. That can be beautiful in a dining room or great room, but too busy in a smaller bedroom with lots of windows and furniture details.
Paint sheen is another planning choice, not just a painter's preference. Flatter finishes tend to calm the ceiling visually, while shinier finishes reflect more light and can make seams, caulk lines, nail-filling, and uneven transitions easier to notice. In rooms with strong side light from sliders or large windows, sample the paint finish in the actual room and look at it in morning and afternoon light before committing.
- Strong candidate: The material sample, trim profile, and finish sample still look clean under the room's natural light, and the ceiling can either blend in or stand out by design.
- Questionable candidate: The profile looks good in isolation, but sunlight highlights every joint or the finish competes with floors, cabinetry, or furniture.
- Poor candidate: The room needs a quiet ceiling, but the chosen decorative beams, sheen, or heavy profile pull attention away from the rest of the space.
For Florida conditions, the practical takeaway is simple: sample before installation. Bright daylight and humidity can make finish decisions more noticeable, so choose materials and caulkable profiles that support the look you want and the maintenance level you are willing to live with.
Define the Scope Before Asking for an Estimate
A beautiful sample board is helpful, but an estimate starts with boundaries. Before you contact a finish carpenter or trim contractor, decide whether you are pricing one ceiling, several connected rooms, or a whole open living area. That one choice changes how much layout planning is needed before materials are ordered.
- Rooms included: List each room by name and note transitions into nearby spaces. A dining room ceiling can be treated as a contained feature, while a great room that runs into a kitchen may need aligned spacing, centerlines, and sightlines across both areas.
- Existing ceiling condition: Note stains, cracks, patched texture, uneven drywall, or old fixture holes. If you expect repair, texture blending, or surface prep before the trim goes up, make that part of the scope instead of assuming it is included.
- Fixture and mechanical changes: Mark lights, fans, vents, speakers, access panels, and anything you want moved or designed around. Electrical or HVAC changes should be called out separately so the trim estimate is not built around guesswork.
- Painting and finishing: Decide whether the estimate should include priming, caulking, nail filling, final paint, stain, or only carpentry. In bright Gulf Coast rooms, finish quality is easy to notice, so the painting responsibility should be clear from the start.
The strongest estimate request includes room dimensions, ceiling photos, a simple ceiling sketch, material preferences, finish notes, and a fixture plan. "I want decorative ceiling trim" leaves too much open; "I want shallow tray ceiling trim in a 12-by-16 room, with the fan staying centered and painting included" gives a contractor a real starting point. That level of detail is especially useful when comparing options for coffered ceiling installation Sarasota homeowners may be considering alongside decorative ceiling trim in Venice FL or nearby Gulf Coast homes.
Final Pre-Installation Decisions to Confirm
Before anyone starts cutting trim, pause on the version of the ceiling you can describe clearly. Your final coffered ceiling planning notes should answer these points:
- Room fit: Is the room a strong candidate, a borderline candidate, or better served by a lighter detail? A taller, wider room may support a full grid; a lower or narrow room may look cleaner with tray trim or shallow custom ceiling moulding.
- Ceiling treatment: Confirm whether you are choosing coffers, decorative beams, tray trim, or panel-style moulding. Each changes visual weight differently, so the choice should match the room's size and role.
- Layout: Approve the centerlines, spacing, transitions, and sightlines before materials are ordered. A strong layout lines up with the room's main features; a weak one looks slightly off from the doorway or seating area.
- Fixtures: Mark the final locations for fans, lights, vents, speakers, and access points so the ceiling design works around them intentionally, not as a last-minute compromise.
- Finish and materials: Approve the profile, paint or stain direction, sheen, and sample pieces in the room's actual light.
- Contractor scope: Confirm which rooms, prep work, carpentry, fixture coordination, and painting are included before work begins.
Decorative ceiling trim can change the whole feel of a room, but the best results come from settled decisions, not improvisation. If the measurements, layout, fixtures, finish, and scope are resolved up front, the finished ceiling is much more likely to look like it belonged there from the start.