
Matching existing trim gets tricky because the eye does not read a board as one simple shape. It notices the top curve, flat faces, little grooves, thickness off the wall, reveal lines around doors and windows, and the shadow each edge casts. A piece that looks "close enough" in a store can stand out once it runs into an old casing, turns a corner, or lines up with baseboard in the next room.
Before buying anything, treat the existing moulding like a pattern you need to document. The useful clues are the trim type, profile shape, overall height or width, projection from the wall, and finish. A clean, undamaged, lightly painted sample or a straight-on photo with measurements gives you a much better comparison than memory or a quick phone snapshot.
- A stock match means finding an off-the-shelf profile close enough to use, ideally where the new and old pieces do not meet in the middle of a long visible run.
- A modified match uses a similar board plus small adjustments, such as changing where the transition happens, so any difference lands at a logical break instead of a doorway or aligned corner.
- Custom profile matching means having trim milled to copy an unusual, discontinued, historic, or highly visible profile that must connect seamlessly to what is already there.
- Broader replacement means changing more trim in a room or zone so the eye sees one intentional design rather than several almost-matching pieces competing for attention.
Start by Documenting the Existing Moulding
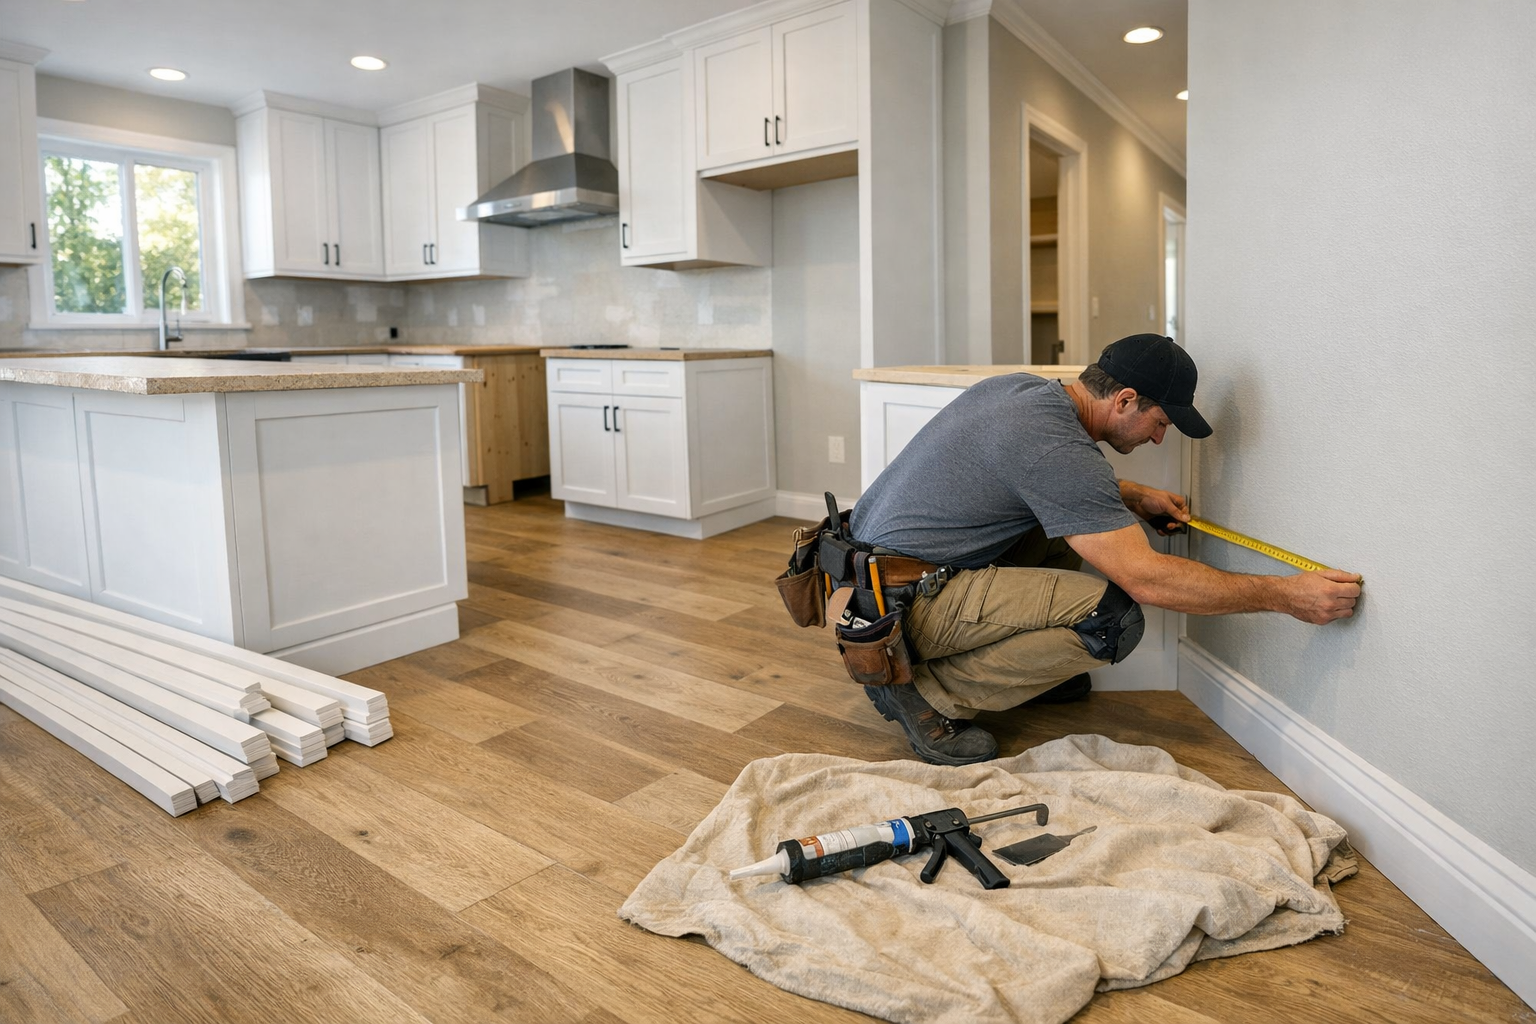
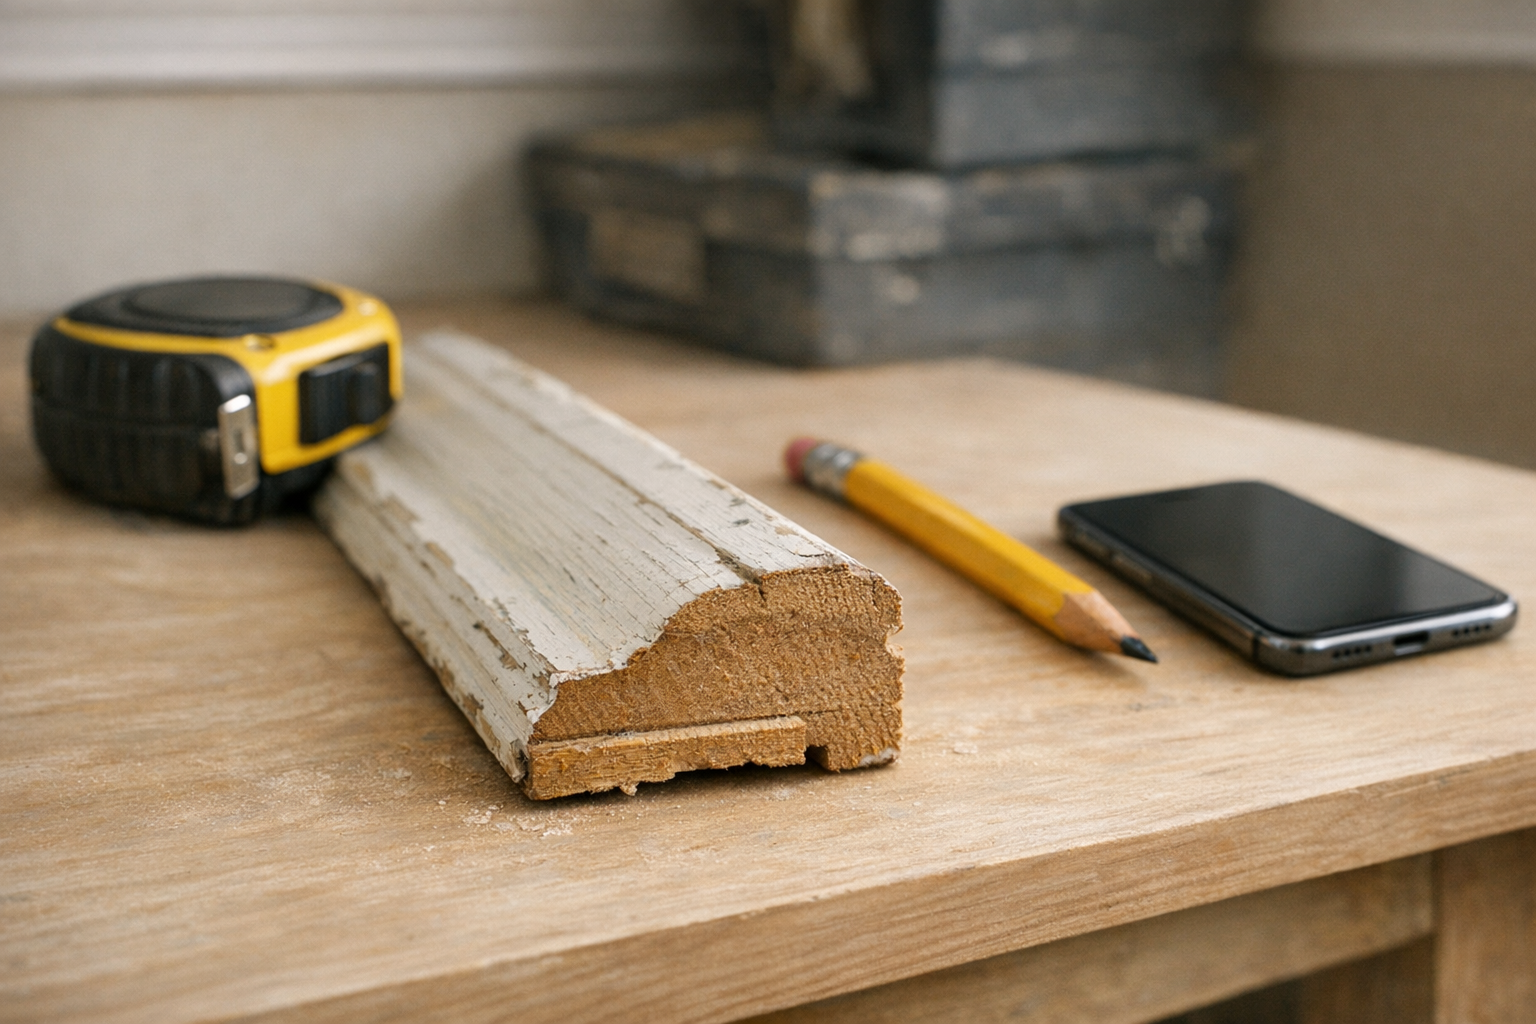
Start a simple "trim record" for the room before you shop. If you can remove a short sample piece from a closet, behind a door, or another low-visibility spot, bring that with you; a cut end shows the moulding's cross-section, which is the shape a lumberyard or millwork shop needs for moulding profile matching. A front photo helps, but it can hide how deep the curves, flats, beads, and grooves actually are.
Photograph the piece straight-on, not at an angle, and include a tape measure or ruler in the shot. Label each photo and sample with the room, wall, and location: "dining room, north wall baseboard," or "hall side of kitchen doorway casing." That label matters because older homes often have slightly different trim in additions, hallways, formal rooms, and upstairs spaces.
- Baseboard is the trim along the floor; its height and top edge are usually the most visible matching clues.
- Casing frames doors and windows; it must relate cleanly to corner blocks, jambs, and nearby baseboard.
- Crown moulding sits where wall meets ceiling; its angle and projection affect the shadow line.
- Chair rail runs horizontally on the wall; even small height or profile changes are easy to spot across a long wall.
- Shoe moulding is the small trim at the floor in front of baseboard; it often hides flooring gaps but still needs the right scale.
- Back band is an extra outer moulding added around casing; missing it can make a doorway look thinner than the original.
Use the cleanest original section you can find as your reference. Avoid copying a piece that is swollen from moisture, buried under many paint layers, dented, sanded out of shape, or patched with filler, because those conditions can distort the profile and lead you toward a weak match when you are matching old trim profiles.
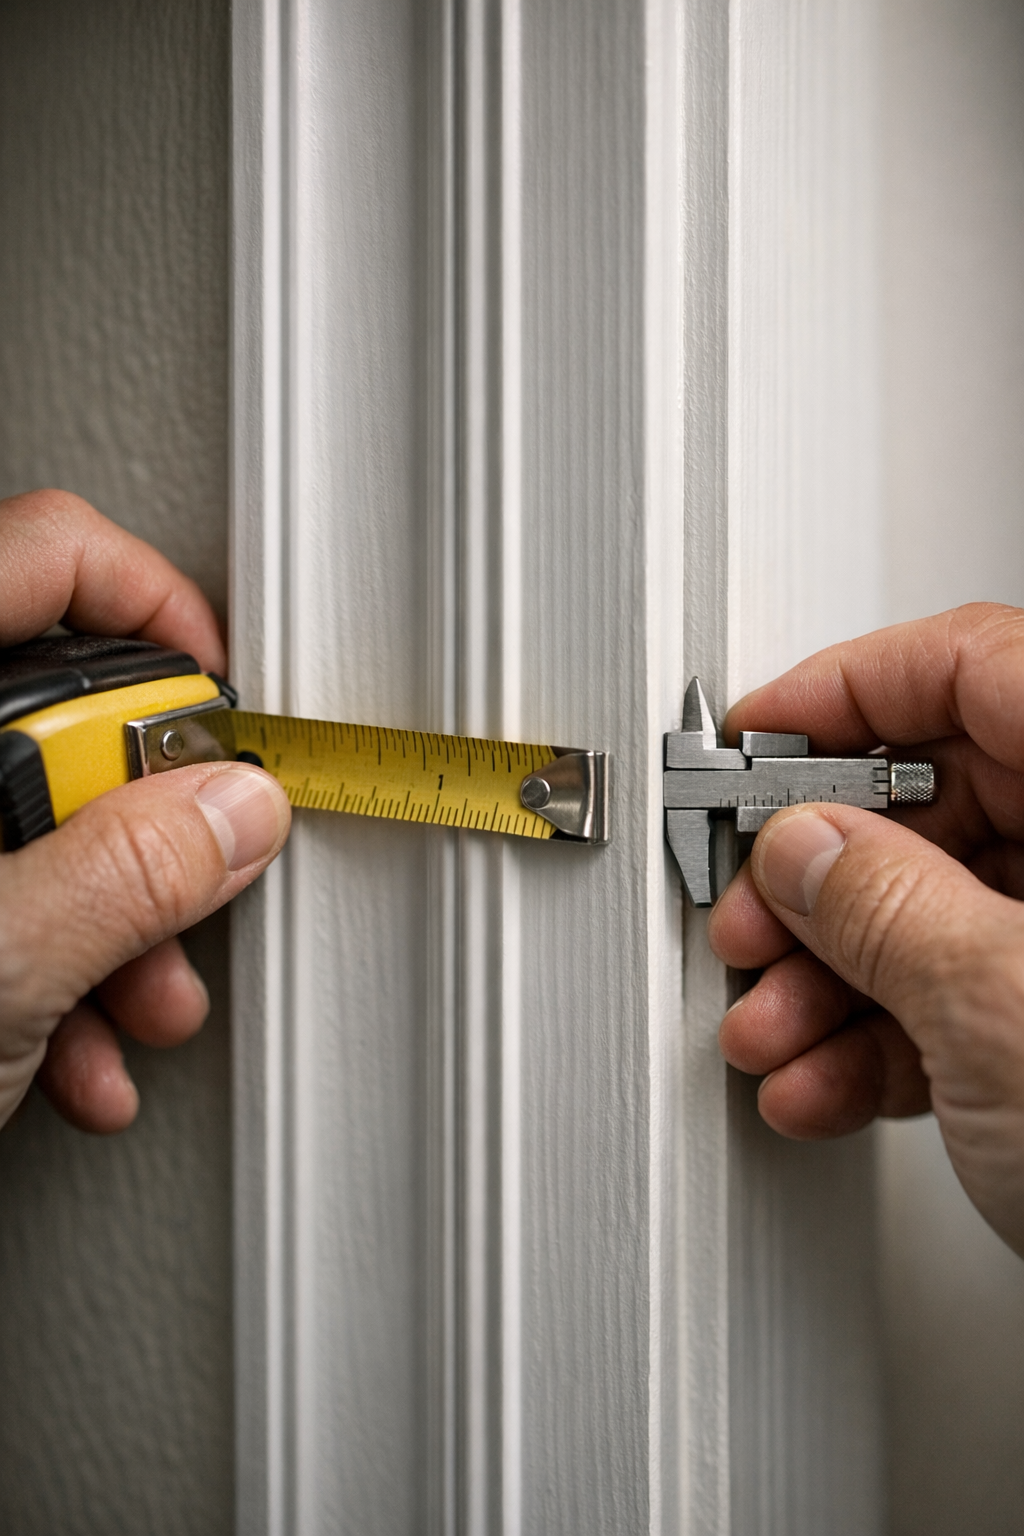
Measure the Details That Make a Match Look Right
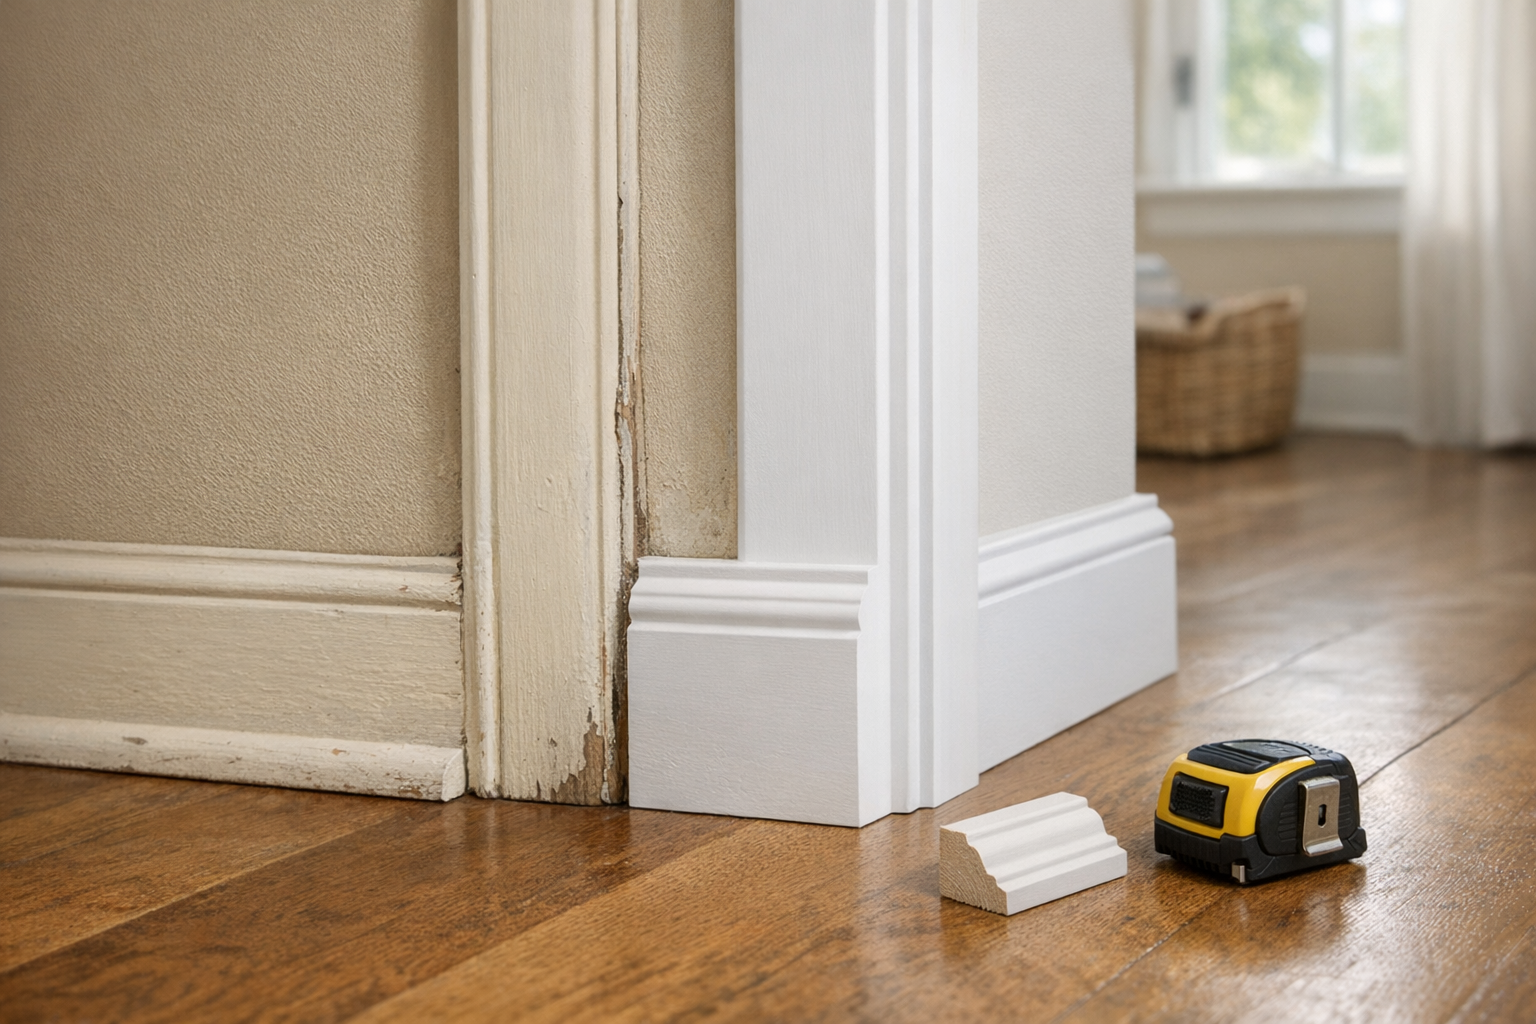
Put the tape measure on the parts that control scale before you study the decorative curves. To match existing trim, record the overall height or width, the thickness at the outer edge, the projection from the wall, and the small reveal lines where trim meets a jamb, floor, ceiling, or neighboring piece. A profile can have the right curve but still look wrong if its top edge lands higher, its face sits flatter, or its shadow line is deeper than the old trim.
- Baseboard height: Measure from the finished floor to the top edge of the baseboard, then compare it at inside corners and where a new run will meet an old run. For matching baseboard trim, an aligned top edge is often a stronger visual cue than a tiny difference in a lower groove.
- Casing width and reveal: Measure the casing face from its inside edge to its outside edge, then measure the reveal, which is the narrow strip of jamb left showing around the door or window. When matching door casing, a consistent reveal keeps the opening looking intentional instead of patched together.
- Thickness and projection: Thickness is the depth of the board itself; projection is how far the installed trim stands proud of the wall. If new trim projects farther, it can cast a heavier shadow and make nearby older trim look thin.
- Top edge and foot detail: Note whether the top has a rounded cap, small bead, bevel, cove, or flat ledge, and whether the bottom has a square foot, eased edge, or shoe moulding in front. These details affect the silhouette when light hits the wall.
- Crown projection: For matching crown moulding, measure how far it comes down the wall and how far it reaches across the ceiling. Those two dimensions control the crown's angle, size, and ceiling shadow.
- Shoe moulding thickness: Along floors, compare both the height and depth of the shoe moulding. A thicker shoe can make the baseboard look bulkier even when the main baseboard is close.
A good match gives you aligned top edges, similar projection, steady reveals, and a shadow line that does not suddenly change at corners, door openings, or other trim alignment points. If one of those checkpoints is visibly off, the mismatch will usually draw the eye before anyone notices whether the tiny decorative curve is exact.
Look for a Stock or Slightly Modified Match First
Use your sample, straight-on photo, and measurements as a shopping pattern, not just a style reference. Hold the old piece against stock profiles at home centers, lumberyards, salvage yards, and millwork suppliers, and compare the cut end whenever possible; that cross-section shows whether the curves, flats, and thickness actually line up.
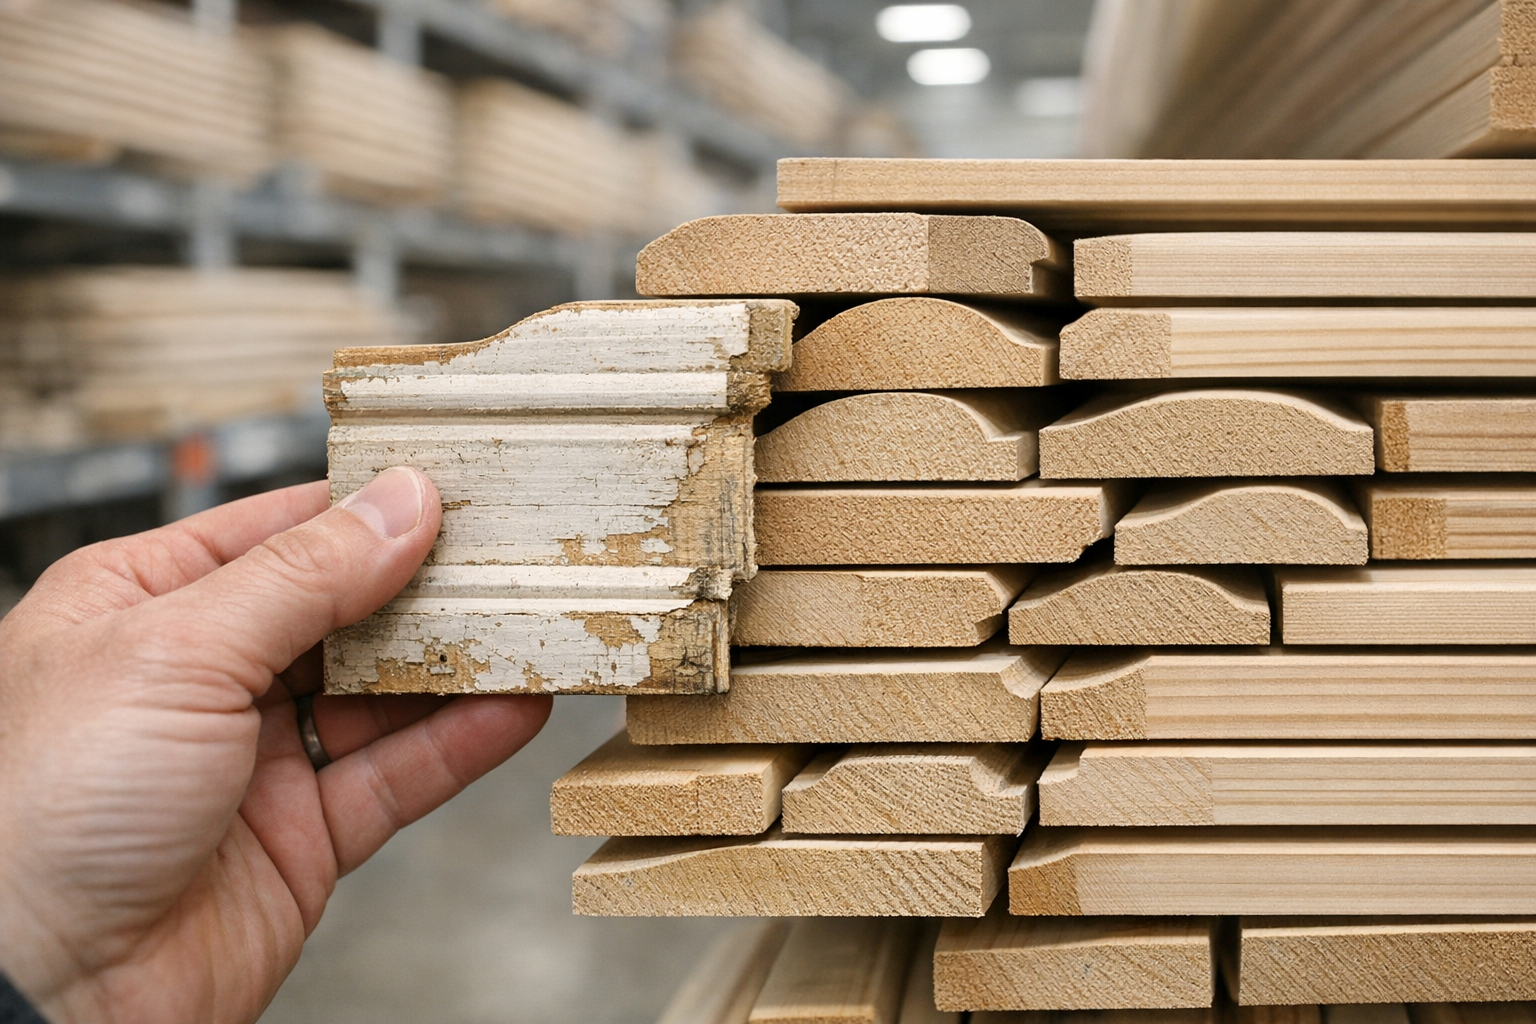
- Stock moulding: This is an off-the-shelf casing, baseboard, crown, cap, or shoe profile. It is the simplest way to match new trim to old trim when the height, top line, projection, and main shadow lines are already close.
- A close stock match: This can work well in a closet, behind a door, on a short wall, or in a room where the new piece does not directly run into the old one. It is riskier at corners, doorways, openings, and long alignment points where a near-match is easy to spot.
- A modified match: This means building the look from simple parts instead of finding one perfect board. A flat baseboard with a separate cap can mimic an older tall base; shoe moulding can restore the lower shadow at the floor; a back band can make plain casing look wider and deeper; and a close profile with the same height and top edge can blend better than a fancier piece with the wrong scale.
Be strict about weak matches. The same wood species or MDF material does not help if the proportions are wrong. A similar curve can still fail if the new piece is thicker and casts a heavier shadow. A close paint or stain color will not hide a different profile where the boards meet. If the mismatch lands in a highly visible transition, save the sample and move on to a better profile-matching option before committing to trim replacement for the whole area.
Use Custom Profile Matching for Highly Visible or Unusual Trim
When a stock or built-up option still leaves an obvious break, custom profile matching becomes the more precise tool. It makes the most sense for historic trim, discontinued profiles, unusual casing, ornate crown, or any new run that dies into old trim at a doorway, room opening, outside corner, or long wall where the joint will be easy to see.
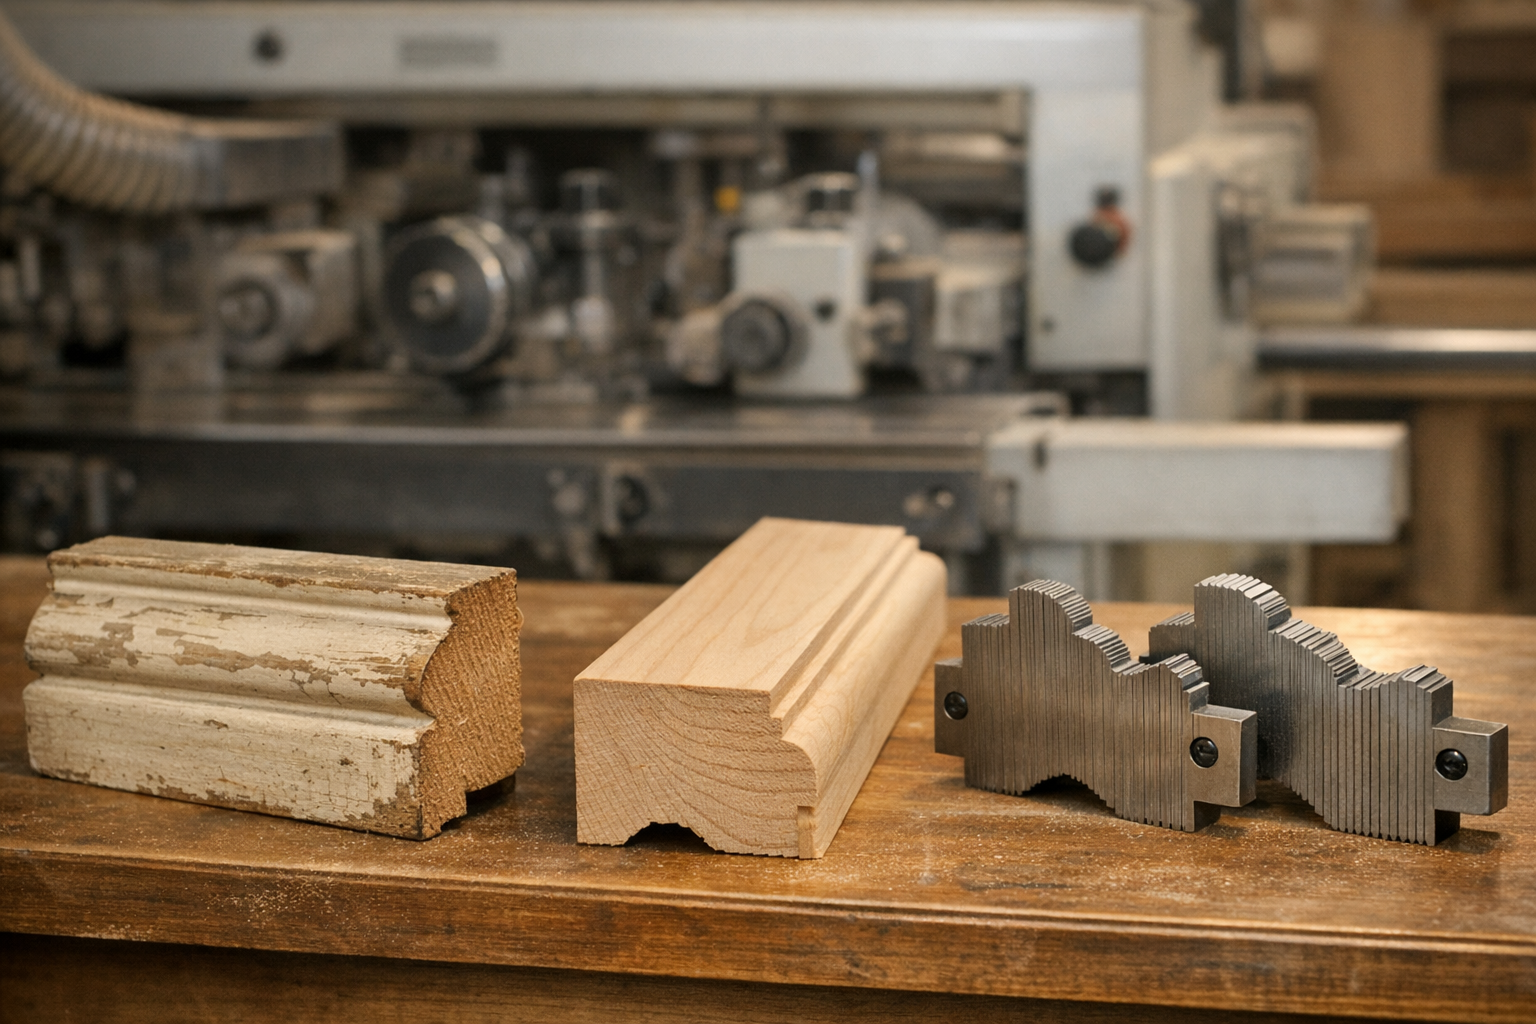
For moulding profile matching, a millwork shop works from the shape and scale of the existing piece, so bring the cleanest sample you can remove, plus straight-on photos, labels, and measurements. Also be ready to identify the trim type, wood species if it will be stained, how many linear feet you need, and whether the shop already has knives for that profile or must make new tooling.
The tradeoff is control versus scope. Custom milling can give you the right silhouette, projection, and shadow line when matching old trim profiles in a prominent place, but it is not automatically the best answer for a short repair behind furniture, inside a closet, or in a low-visibility corner. For small quantities, ask for the exact setup and milling price before deciding that a perfect copy is worth it.
Use the least distorted original piece as the pattern. Old trim that has swollen, worn down, been sanded, or collected many paint layers may no longer show the original crisp profile, so the sample choice affects how cleanly the new work will blend.
Match the Finish: Paint, Stain, Sheen, and Aging
A perfect profile can still look patched if the finish is off. Before buying paint or stain, clean a small area of the existing trim and compare against that, not against dusty, yellowed, or touched-up spots. If you saved a sample piece, use the least damaged face as your finish reference.
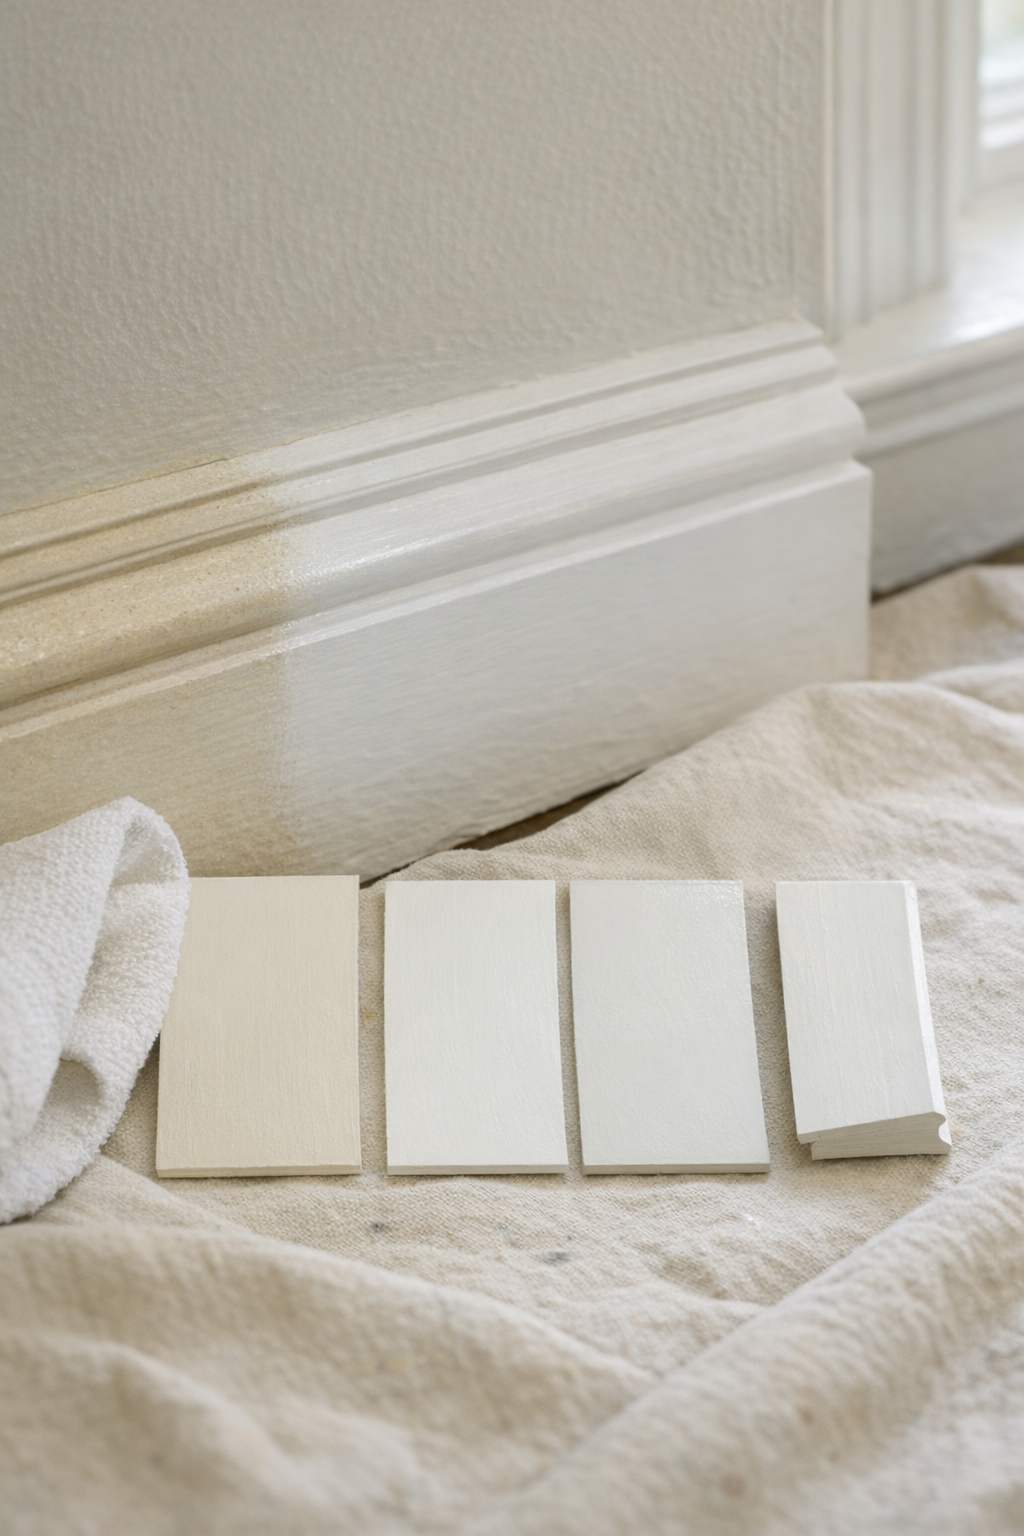
For painted trim matching, separate four things: color, primer, caulk lines, and sheen. Color is the actual paint match; primer controls how evenly the new board accepts the topcoat; caulk softens the fine gap where trim meets the wall; sheen is the amount of shine, such as flat, eggshell, satin, semi-gloss, or gloss. A color that looks right in the can can still stand out if the old trim is satin and the new piece is semi-gloss.
Painted trim is usually the most forgiving because you can prime the new piece, fill nail holes, caulk the wall line, and paint the new and nearby old trim with the same product and sheen. If the existing paint is faded, dingy, or heavily brushed while the new piece is smooth, repainting all the trim on that wall, or the whole room, often gives a cleaner result than trying to touch in one bright new board.
Stained wood trim matching is harder because the finish is not just a surface color. Wood species, grain pattern, age, sun exposure, previous clear coats, and stain absorption all change the final look. Oak, pine, maple, and fir can take the same stain very differently, and an older ambered clear coat can make new wood look too pale or too red even when the stain name matches.
Test before committing. Use scrap from the new trim, sand it the same way the installed piece will be sanded, then try stain and clear-coat combinations beside the old sample in the room's normal light. For stained work, expect adjustments, lighter or darker stain, a tinted topcoat, or a different wood species, and accept that a perfect invisible match may not be realistic without a physical sample and several test boards.
Plan Where Old and New Trim Will Meet
Decide on the handoff before any board is cut. After you know the old profile, choose where the new work can stop cleanly. Strong stopping points include inside corners, doorway casing, room thresholds, cabinet ends, built-ins, or another natural break. A weak stopping point is the middle of a long wall, where the eye has no reason to accept a sudden profile change.
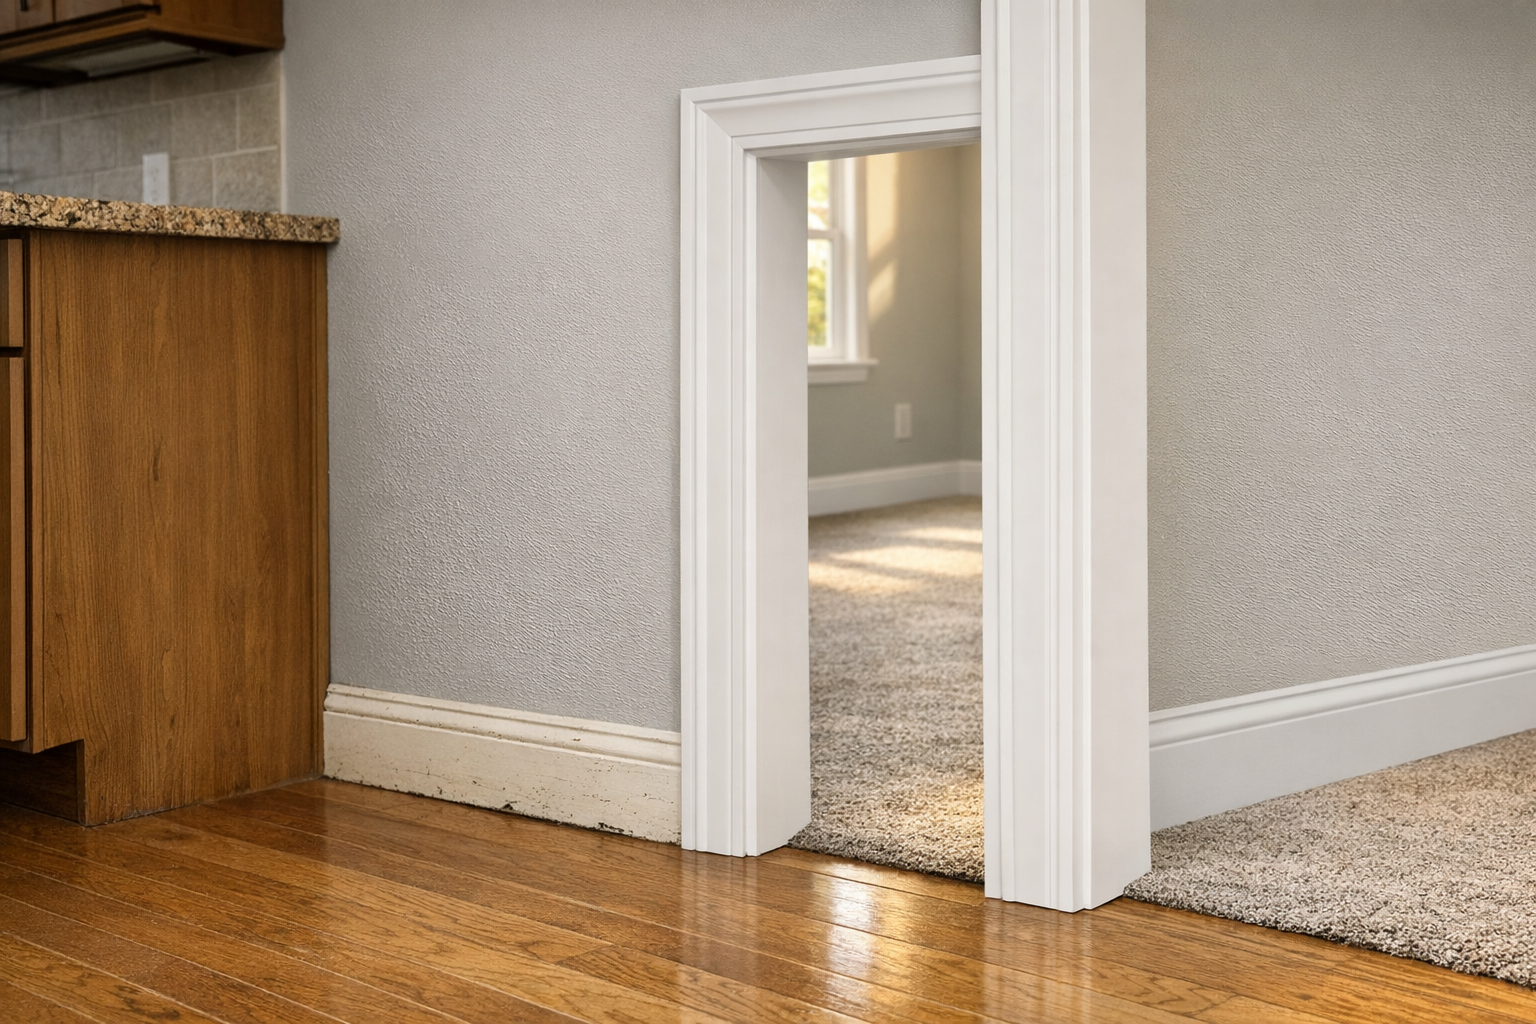
Pay extra attention to corner transitions, doorways, open wall connections, and places where baseboard, casing, crown, or chair rail line up across an opening. These are the spots where a near-match becomes most obvious because top edges, shadow lines, and the reveal around jambs are easy to compare side by side.
When old and new trim must meet directly, make the alignment do as much work as the profile. Keep baseboard top edges level from one run to the next, hold the casing reveal consistent around doors and windows, and avoid changing projection at an exposed outside corner. Whether a corner is handled with a cope or a miter, the goal is profile continuity, not hiding two noticeably different shapes in the joint.
Know When Replacing More Trim Is the Cleaner Choice
Sometimes the cleanest handoff is not a handoff at all. If a new opening exposes long side-by-side runs, or if the only stopping point lands in a highly visible area, trim replacement may look more intentional than trying to force a near-match where profiles, top edges, and shadow lines will be compared directly.
Consider replacing more trim when the old pieces are badly damaged, buried under heavy paint, or inconsistent from earlier remodels. A weak reference makes it harder to match existing trim accurately, and multiple old profiles in one room can make every new board look like another patch instead of part of a plan.
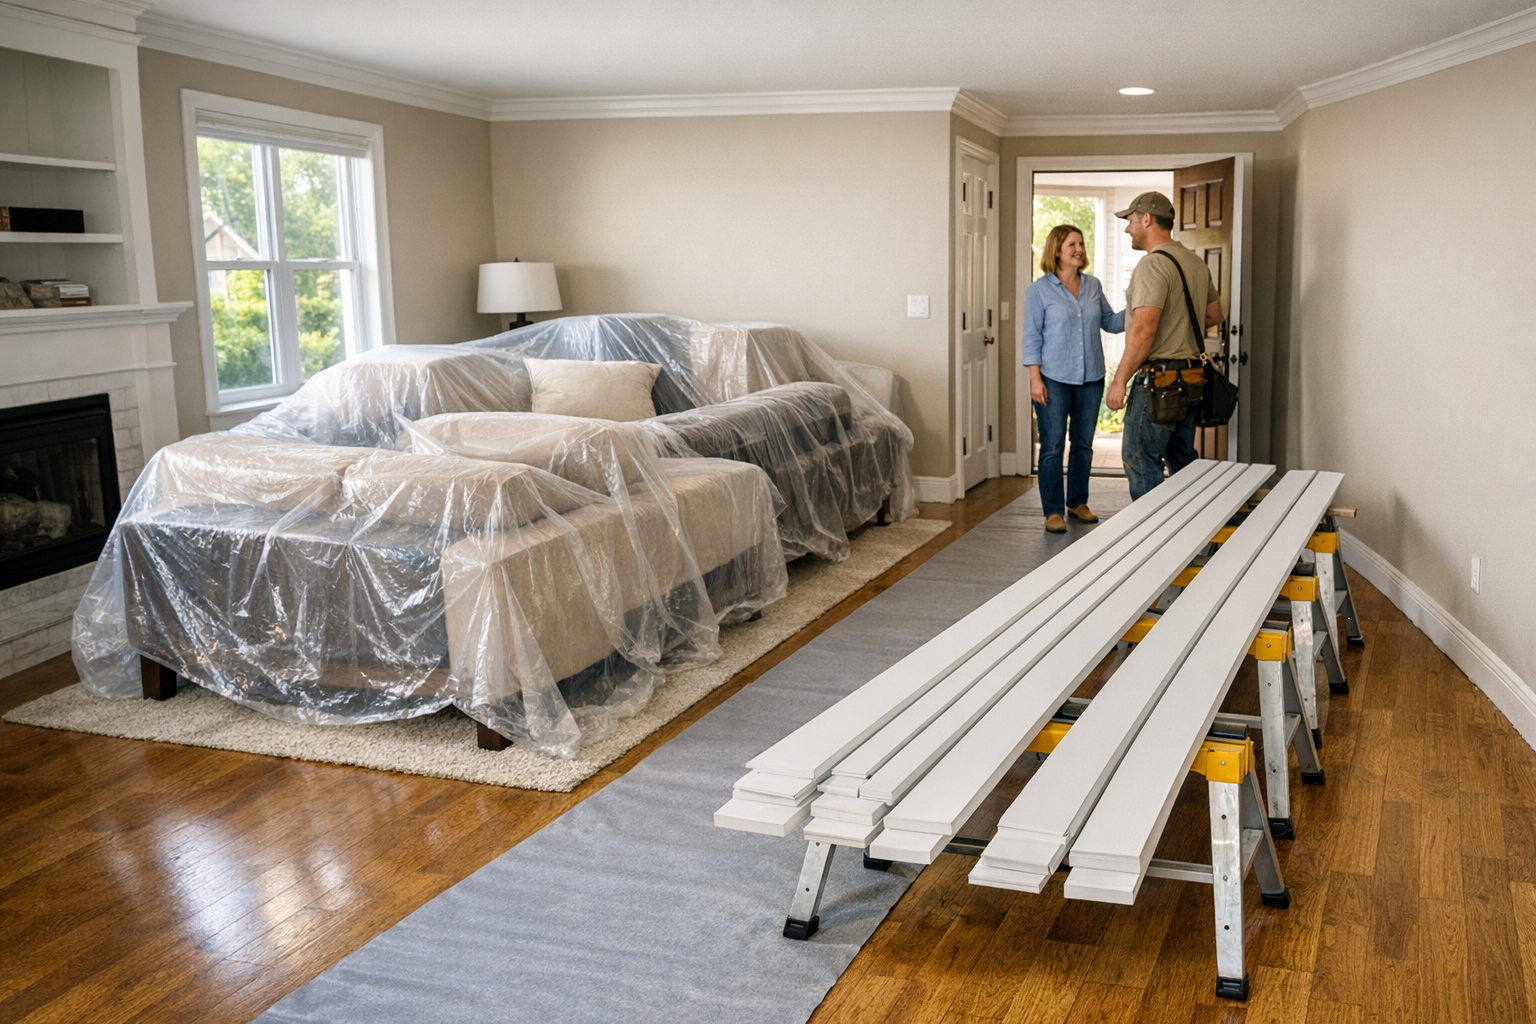
Room-wide replacement means choosing one baseboard, casing, or crown package for the whole room so the scale and reveals agree everywhere. Zone-wide replacement carries that same package through a connected area, such as a kitchen and breakfast nook. The tradeoff is buying and installing more material, but it can be the cleaner choice when the room is already being updated, the stained finish will not blend, or you would otherwise be comparing old and new trim across an opening.
Replacing more trim is not a failure; it is one of the remodel trim upgrades that can make the finished room feel deliberate. If you replace all the trim in a room, keep adjacent rooms compatible by ending the change at a doorway, threshold, inside corner, or other logical break.